



- Written by: vkkikumar007@gmail.com
- September 29, 2026
- Categories: Business
- Tags: , eCommerce, GST, Indian eCommerce, PHP, SEO, Shipping, Shopify, Wordpress
How to Set Up an Online Store in India Using Shopify: A Complete Guide
India’s eCommerce market is booming, and launching your own brand has never been more profitable. But when it comes to choosing the best platform to start an online store in India, business owners often get confused between WooCommerce, Magento, and Shopify.
For most growing brands, Shopify is the undisputed winner. It is fast, highly secure, and comes with built-in integrations for Indian shipping and payment providers. Here is a step-by-step guide on how to set up your online store in India using Shopify.
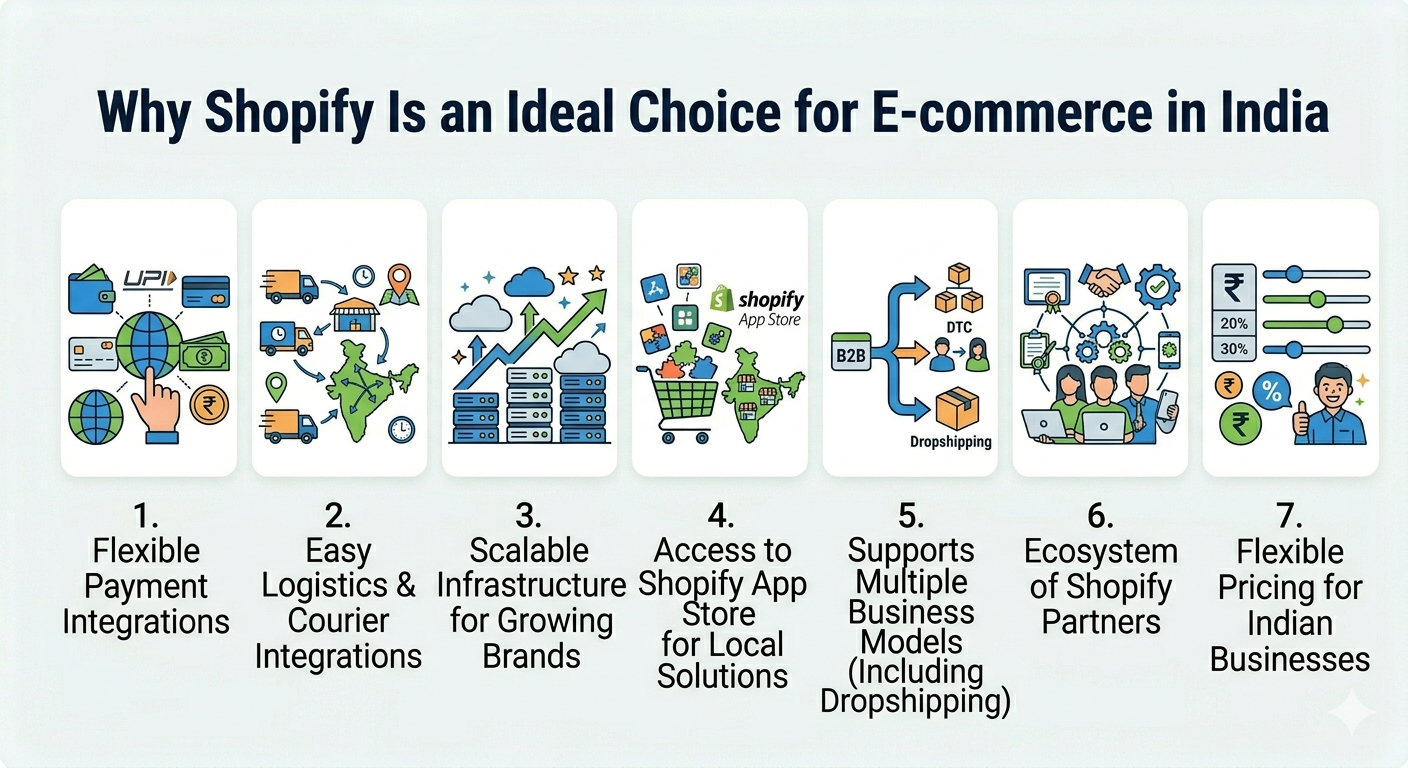
Why is Shopify the Best Platform for Indian eCommerce?
Before diving into the setup, here is why Shopify dominates the Indian market:
Zero Hosting Hassles: Unlike custom PHP or WooCommerce, Shopify is fully hosted. You don’t need to buy separate servers.
Mobile-First Themes: With over 75% of Indian shoppers buying via smartphones, Shopify’s responsive themes guarantee a flawless mobile experience.
Local Integrations: It seamlessly connects with Indian logistics like Shiprocket and Delhivery, plus all major payment gateways.
Step-by-Step: How to Set Up Your Shopify Store in India
Step 1: Create Your Account and Set Base Details
Go to Shopify.in and start your free trial. During the initial setup, ensure your store location is set to India. This automatically configures your default currency to Indian Rupees (INR) and prepares your store for GST compliance.
Step 2: Choose and Customize a Theme
Your website’s design is your digital storefront. Go to Online Store > Themes. You can pick a free theme like Dawn to start, but for a premium feel that converts (especially for niches like jewelry or healthcare), customizing a paid theme is recommended.
Pro Tip: Keep the homepage clean. Feature your top-selling products above the fold to capture attention in the first 3 seconds.
Step 3: Add Products and Collections
Go to Products > Add Product. Write compelling, SEO-friendly descriptions.
Add high-quality WebP images to keep your page speed fast.
Group items into “Collections” (e.g., Men’s Wear, Summer Sale) to make navigation easy for the user.
Step 4: Configure Indian Shipping Options
Shipping can make or break an Indian eCommerce store. Go to Settings > Shipping and Delivery. For a pan-India reach, integrate an aggregator app like Shiprocket directly from the Shopify App Store. This allows you to ship via BlueDart, Delhivery, or Ecom Express based on the cheapest or fastest rates for specific pin codes.
Step 5: Add Legal Pages and GST Details
Indian consumers look for trust signals. Ensure you generate standard pages for:
Refund and Return Policy
Terms of Service
Privacy Policy Update your GSTIN in the Settings > Taxes section so that tax invoices are automatically generated for your customers.
Need a Custom eCommerce Experience?
Setting up a basic Shopify store is easy, but building a high-converting, custom-coded brand requires technical expertise. At Mantrix Digital, we specialize in designing premium eCommerce websites that drive sales.